Building a DIY aquarium: a practical guide from plan to water
Building a DIY aquarium isn't just a way to save money. It's the chance to have a tank of the exact dimensions you want, to really understand how the structure of a glass aquarium works, and to feel that satisfaction you'll hardly find by buying a ready-made tank. In this guide we'll cover the entire process, from the initial plan all the way to filling it with water, with concrete instructions for those who want to roll up their sleeves.
Why build your own?
The reasons are both practical and emotional. On the practical side, a self-built aquarium often costs less than an equivalent commercial tank, and above all it lets you choose custom dimensions: a long, low tank, a cube, a width that suits the cabinet you already have. On the emotional side, there's the pleasure of making something with your own hands that works and holds water for years. Once you've understood the method, you'll want to build a second tank.
First of all: the plan
Everything starts with the plan. The dimensions should be chosen based on two factors: the space available where you'll place the tank and the fish you want to keep. Active species swim horizontally, so favour length and width over excessive height; a moderate height, moreover, reduces the pressure on the glass panels and therefore the thickness required.
Before buying any material it's essential to calculate the volume and glass thickness precisely. The aquarium.tools calculator lets you enter the external length, width and height of the tank and automatically gives you the net volume in litres (excluding the base), the minimum recommended glass thickness and the list of exact cuts to order from the glazier. It's a step not to skip, especially for tanks over 100 litres.
Materials needed
Here's what you need to build a glass aquarium properly:
- Float glass: this is the glass to use for self-built tanks. It cuts cleanly and, if it ever breaks, it does so in predictable sheets. Avoid tempered glass: it can't be cut after tempering and, if it gives way, it shatters into a thousand fragments.
- Acetic silicone specifically for aquariums: it must state that it's for aquarium use, with no fungicides or additives toxic to fish.
- Masking tape: to mask the joints and achieve clean beads.
- Metal squares and clamps: to keep the glass panels perpendicular and in position during curing.
- A sharp utility knife: to trim off excess silicone.
- Isopropyl alcohol: indispensable for degreasing the surfaces before siliconing.
Calculating the glass thickness
Glass thickness is the most critical aspect for the safety of a self-built aquarium. The basic rule, valid as a first approximation, is simple: divide the tank's height in centimetres by 18 to get the minimum thickness in millimetres.
Example: a tank 45 cm tall requires about 45 ÷ 18 = 2.5, so glass at least 10 mm thick (rounding up and applying a safety margin). The safety factor is exactly this: don't stop at the theoretical minimum value, but choose the next available commercial thickness so you can sleep soundly.
The key point to understand is that hydrostatic pressure depends on the water's height, not on its width. A tank two metres long but low pushes much less on the glass than a narrow but very tall tank. This is why low, wide tanks are the safest to self-build.
For a practical, customised check on your own measurements, use the aquarium.tools calculator again: it takes into account the tank's actual proportions and gives you the recommended thickness without having to do the maths by hand.
| Tank height | Recommended glass thickness |
|---|---|
| up to 30 cm | 6 mm |
| 30–40 cm | 8 mm |
| 40–50 cm | 10 mm |
| 50–60 cm | 12 mm |
| over 60 cm | 15 mm or laminated glass / reinforcement braces |
This table is a quick reference: for large or unusually shaped tanks it's always best to check with the calculator and, if in doubt, ask the glazier for advice.
Cutting and preparing the glass
Take the final measurements to the glazier. A crucial point: when calculating the sheets you must account for the thicknesses. The long and short sides can rest on top of the base or wrap around it: decide the assembly scheme before ordering, so the cut measurements are consistent (the list the calculator generates helps with exactly this).
Ask the glazier to have the edges ground (bevelled): sharp edges are dangerous and less suitable for bonding. Once home, carefully clean every edge and degrease all contact surfaces with isopropyl alcohol. Cleaning is half the job: silicone only adheres to perfectly clean, dry surfaces.
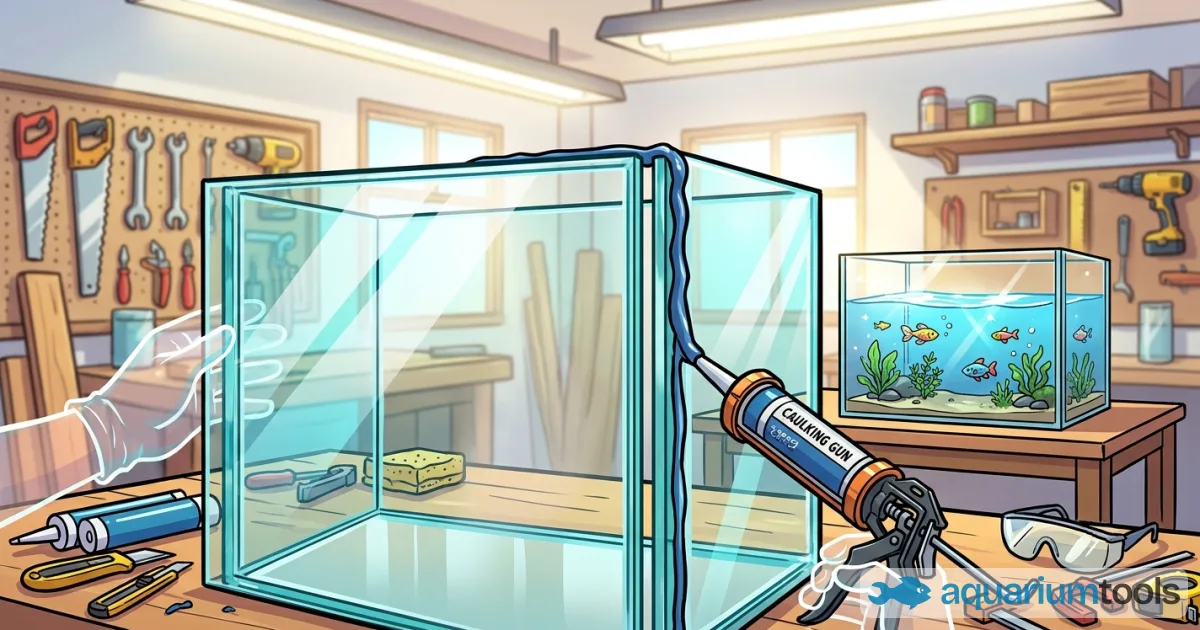
Siliconing step by step
This is the most delicate phase. Work on a perfectly level surface and proceed calmly.
- Mask with the tape the areas outside the joints, leaving free only the strip that will receive the silicone.
- Start with the base: apply a bead of silicone along the perimeter where the sides will rest.
- Fit the long sides, pressing them into position and securing them with the clamps and metal squares to keep them perpendicular.
- Add the short sides, siliconing the vertical joints with the other panels.
- Insert any reinforcement braces on the top edge, indispensable on larger tanks to counteract the outward thrust.
- Apply the silicone evenly and shape the inner bead with a wet finger (or a suitable stick) to achieve a smooth joint free of air bubbles.
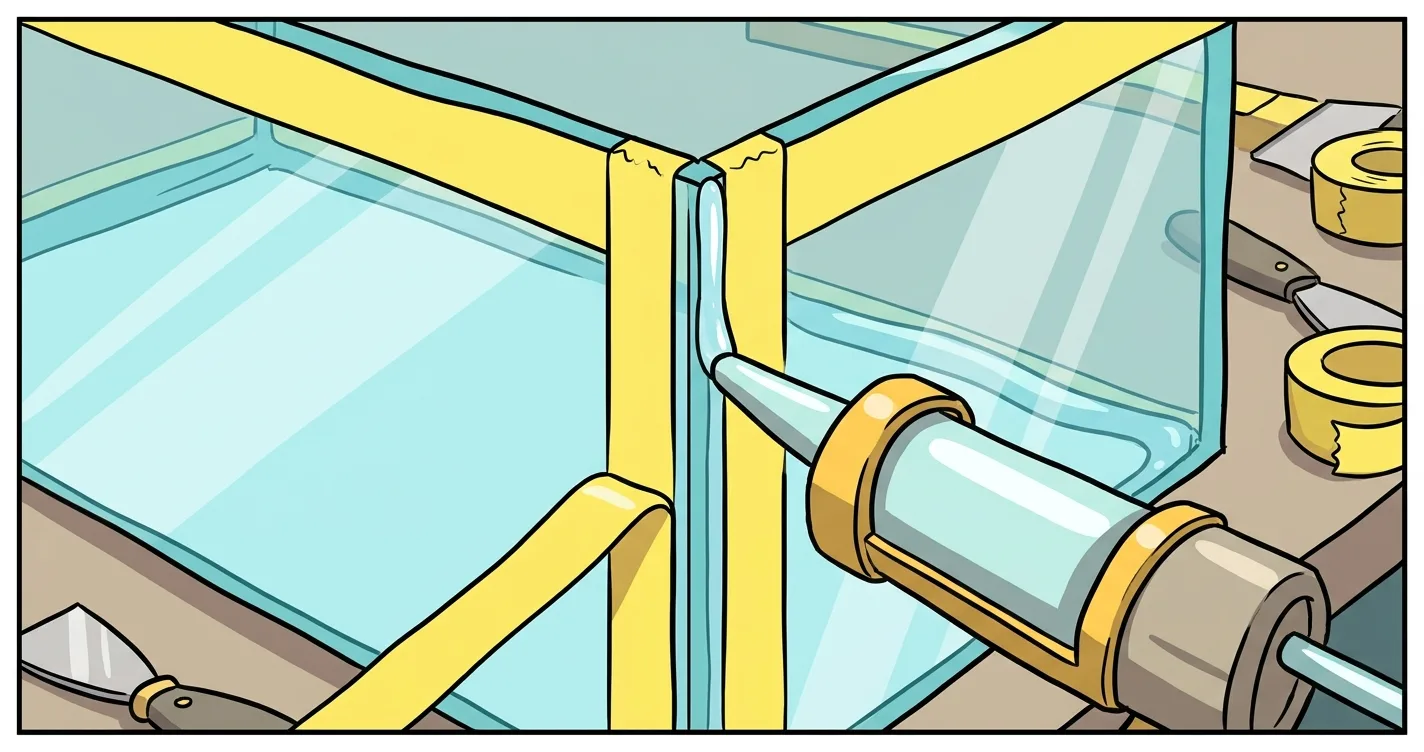
- Even application of the silicone bead along the vertical joint.
- Trim the excess: remove the masking tape immediately while the silicone is still fresh, so the beads stay clean.
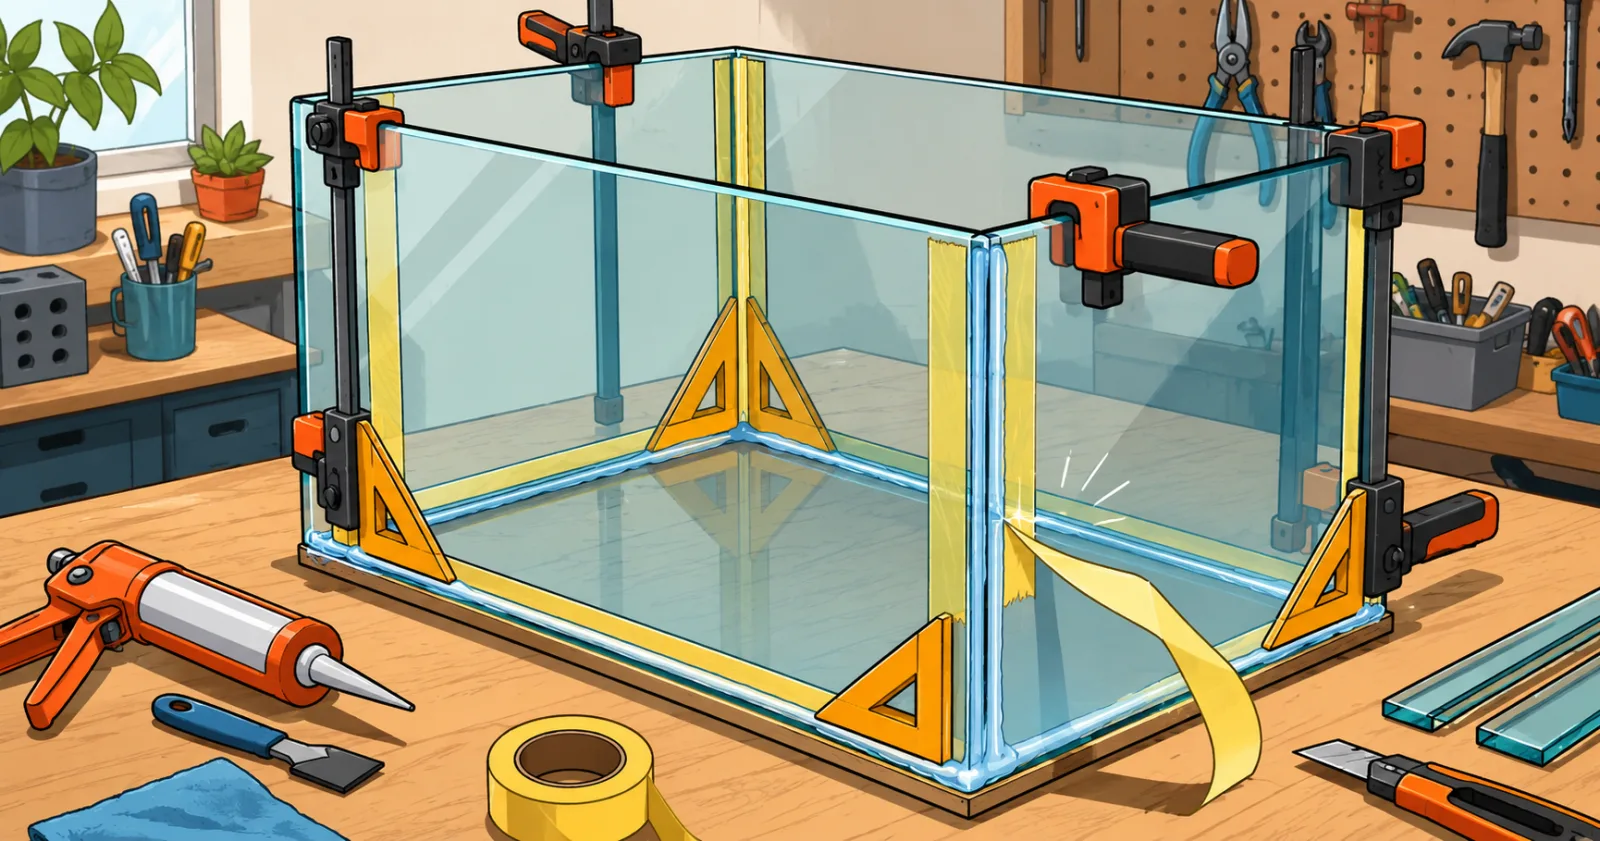 Clamps and squares keep the glass panels perpendicular during curing.
Let the silicone cure for at least 24–48 hours, better 72, in a well-ventilated environment. Don't rush: a complete cure is what guarantees the seal over time.
The leak test
Never set up a tank without first having tested it. Place the aquarium outdoors, in a spot where any leak won't cause damage (a terrace, a garage, on top of some sheets). Fill it completely with water and leave it like that for at least 24 hours, ideally more.
Carefully check every corner and every joint, even with a sheet of dry paper run along the edges to spot tiny seepages. If everything is dry after the test, the tank is ready. If you find a leak, empty it, dry it, remove the defective area and re-silicone that spot, then repeat the test.
Finishing and setup
Once the test is passed, you can finish off the tank:
- Painting the external bottom: painting the bottom glass (on the outside) black or dark blue hides the substrate from below and gives more depth to the layout.
- Lid: fit a lid to reduce evaporation, prevent fish from jumping out and house the lighting.
- Support cabinet: choose a sturdy, perfectly level cabinet, sized for the total weight. Remember that a litre of water weighs about a kilo, to which you add glass, substrate and décor: a 200-litre tank easily exceeds 250 kg.
Conclusion
Building a handmade aquarium tank requires patience and precision, but the cost/benefit balance is almost always favourable: you save compared to buying one, you get custom dimensions and you acquire a skill that stays with you. Above all, every day you look at an aquarium you built yourself.
If the idea appeals to you, start with the most concrete and most important step: the precise calculation of the glass. Define the dimensions, check the volume and thickness with the calculator, order the right cuts and the rest will follow. Good luck.
All material on this site is protected by copyright. Partial or total copying and republishing without authorization is not allowed.